
Getting Started
Navigating the Settings Section
The Settings menu is your clinical command center. It is divided into three tabs — Subscription, Clinic, and Account — to help you manage billing and team seats, your clinic's brand, and your personal professional profile.
6 sections
~4 min
Updated April 2026
Subscription & billing
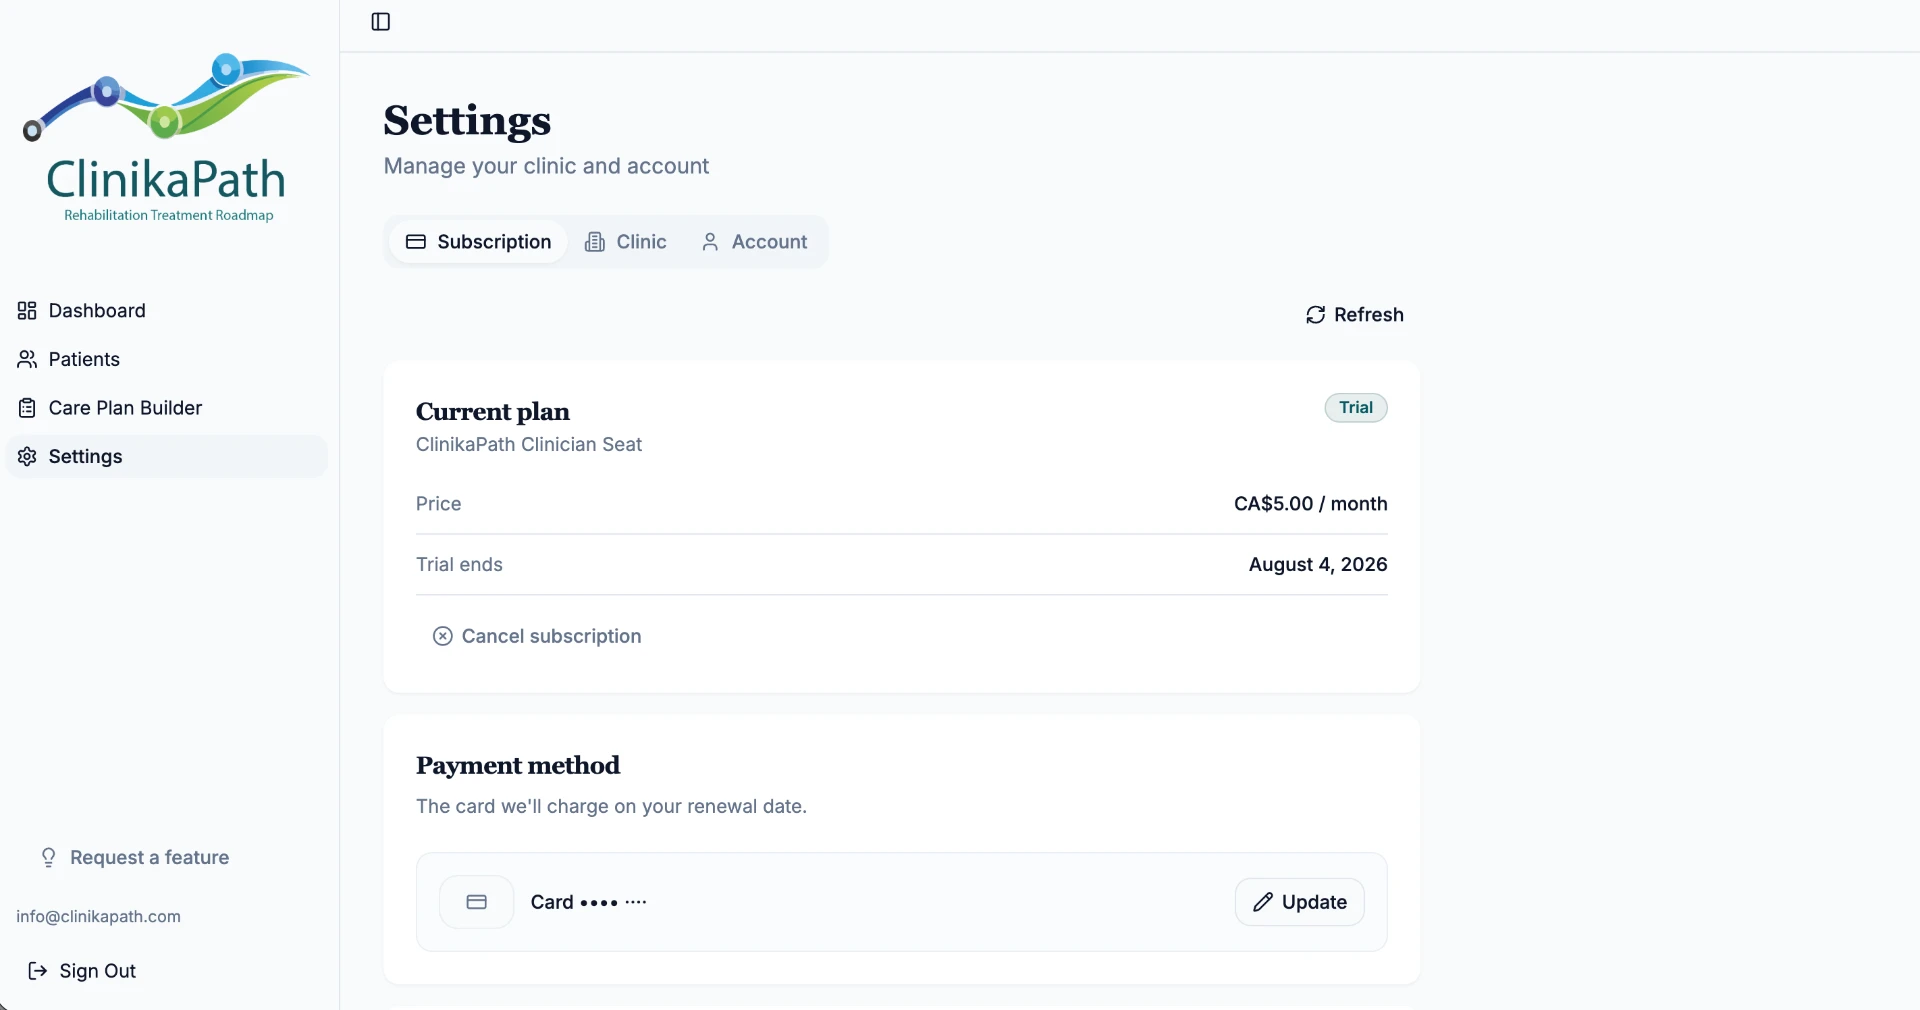
When you click Settings in the sidebar, you land on the Subscription tab. This is where you handle the business side of your practice.
- Current plan: shows your ClinikaPath Clinician Seat, its monthly price, and a Trial badge with your trial end date while you are still in the free period.
- Payment method: the card charged on your renewal date. Click Update to change it.
- Refresh: use this if you just changed your plan or card and the page still shows old information.
- Cancel subscription: ends your plan at the end of the current billing period.
Team seats
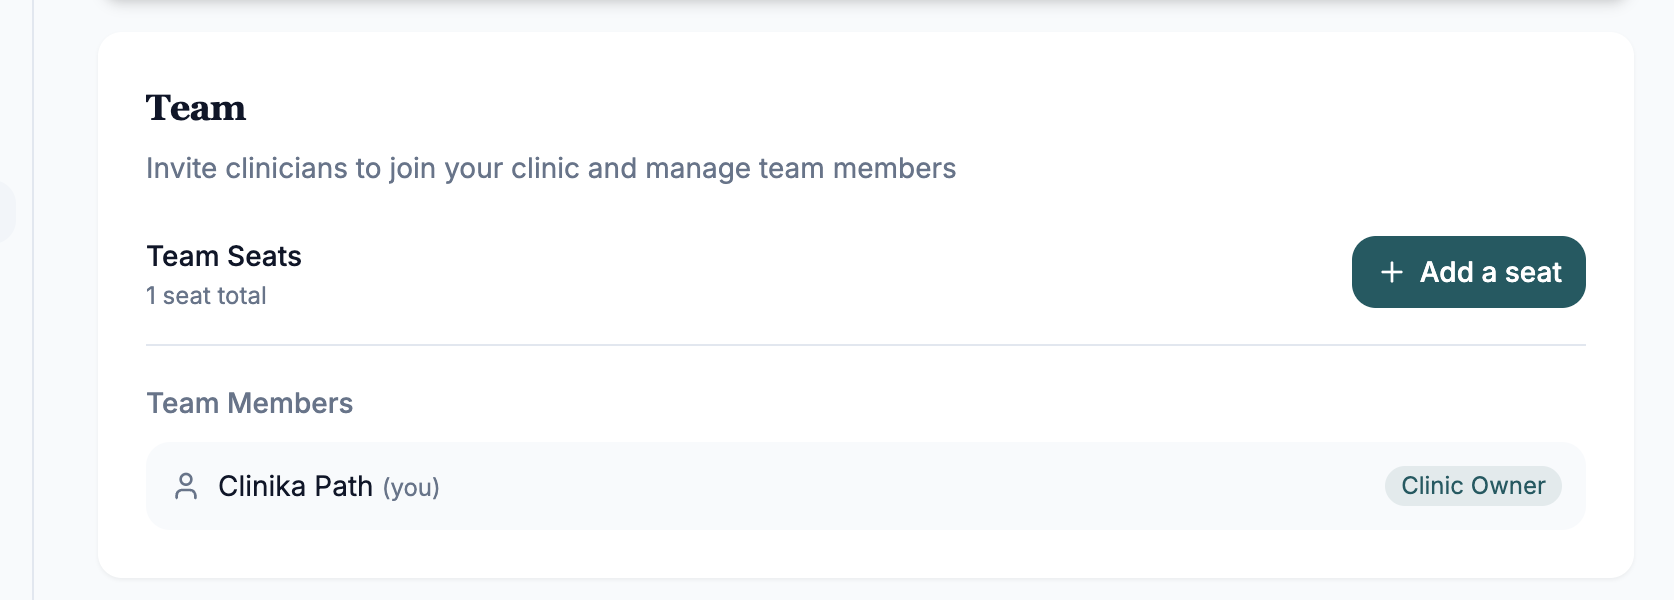
Further down the Subscription tab, the Team card lets you invite clinicians to join your clinic.
- Team Seats: shows how many clinician licenses are active in your practice.
- Add a seat: click this button to invite another clinician. Each added seat is billed as an extra monthly membership fee.
- Team Members: lists everyone with access. The person who started the account is tagged Clinic Owner.
Admin team (free, read-only)
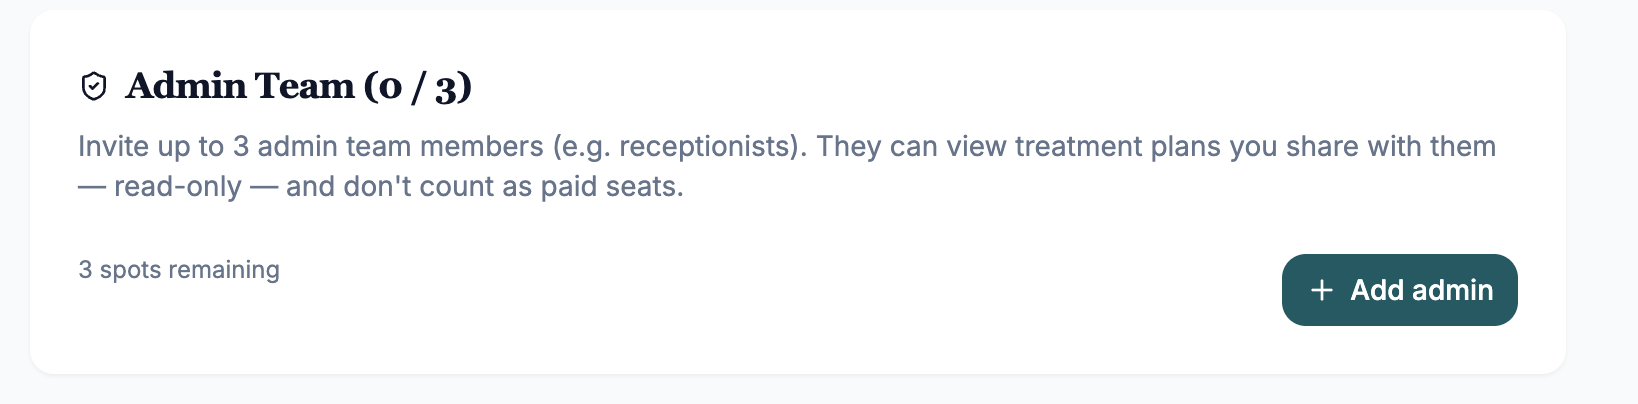
The Admin Team card lets you invite up to 3 admin members — for example receptionists.
- Read-only access: admins can view the care plans you share with them, but cannot edit them.
- No extra cost: admin members do not count as paid seats.
- Add admin: the counter shows how many spots you have left out of three.
Clinic details
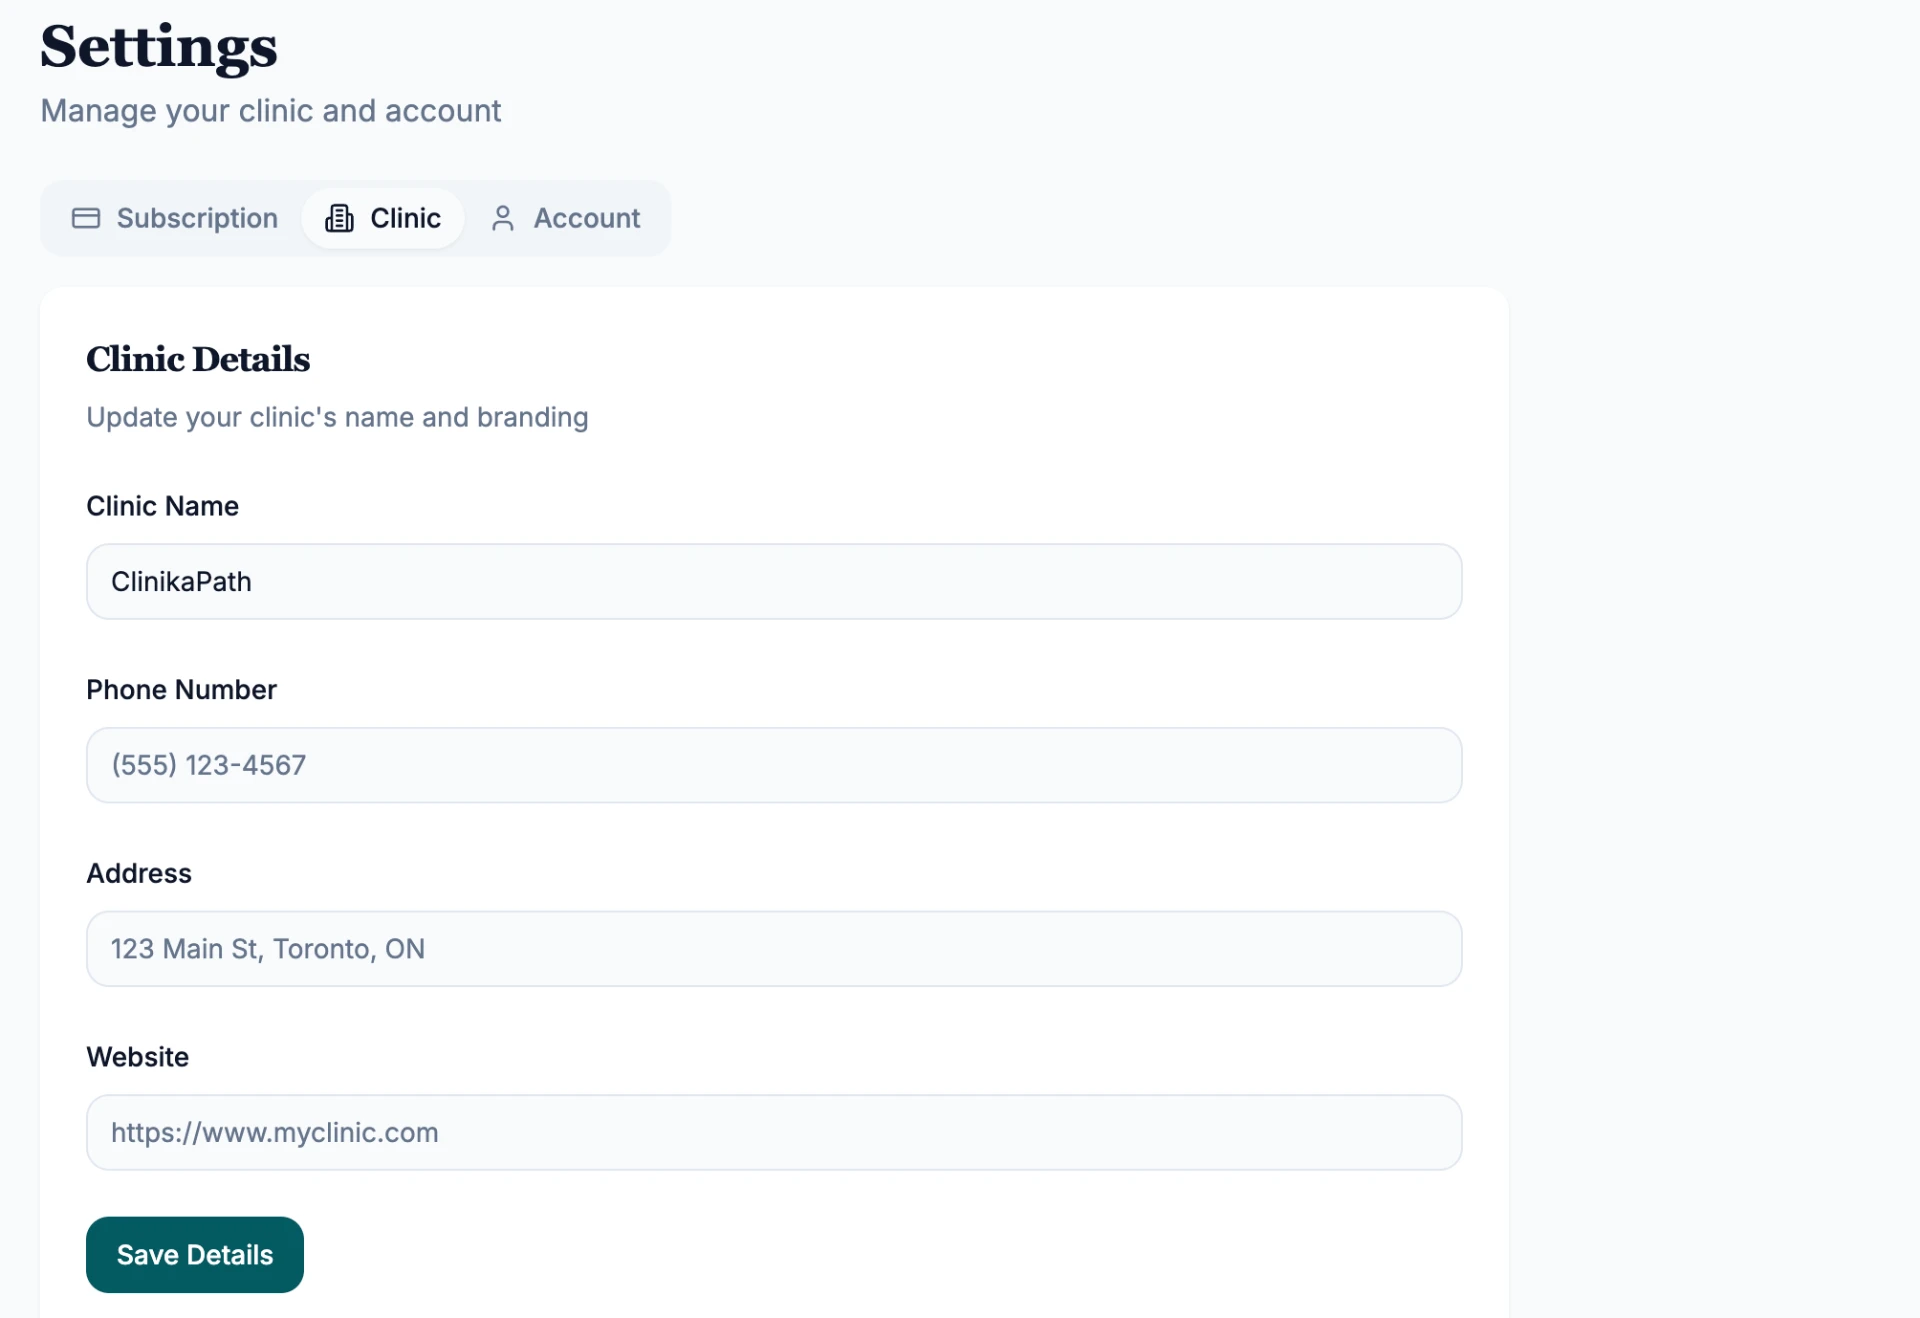
Click the Clinic tab to customize how your practice appears to your patients.
- Practice identity: update your Clinic Name, Phone Number, Address, and Website.
- Save details: always click the teal Save Details button so your changes apply across the app.
Clinic logo
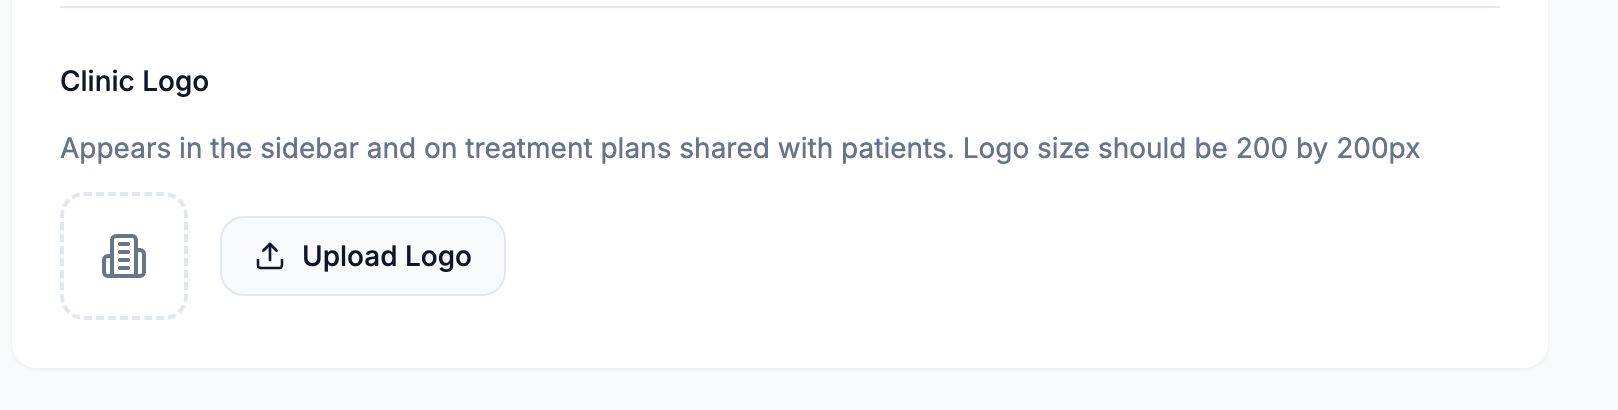
At the bottom of the Clinic tab, click Upload Logo to add your branding. For the best results, use a 200 × 200px image. Your logo appears in the sidebar and on every care plan you share with patients.
Your account profile & security
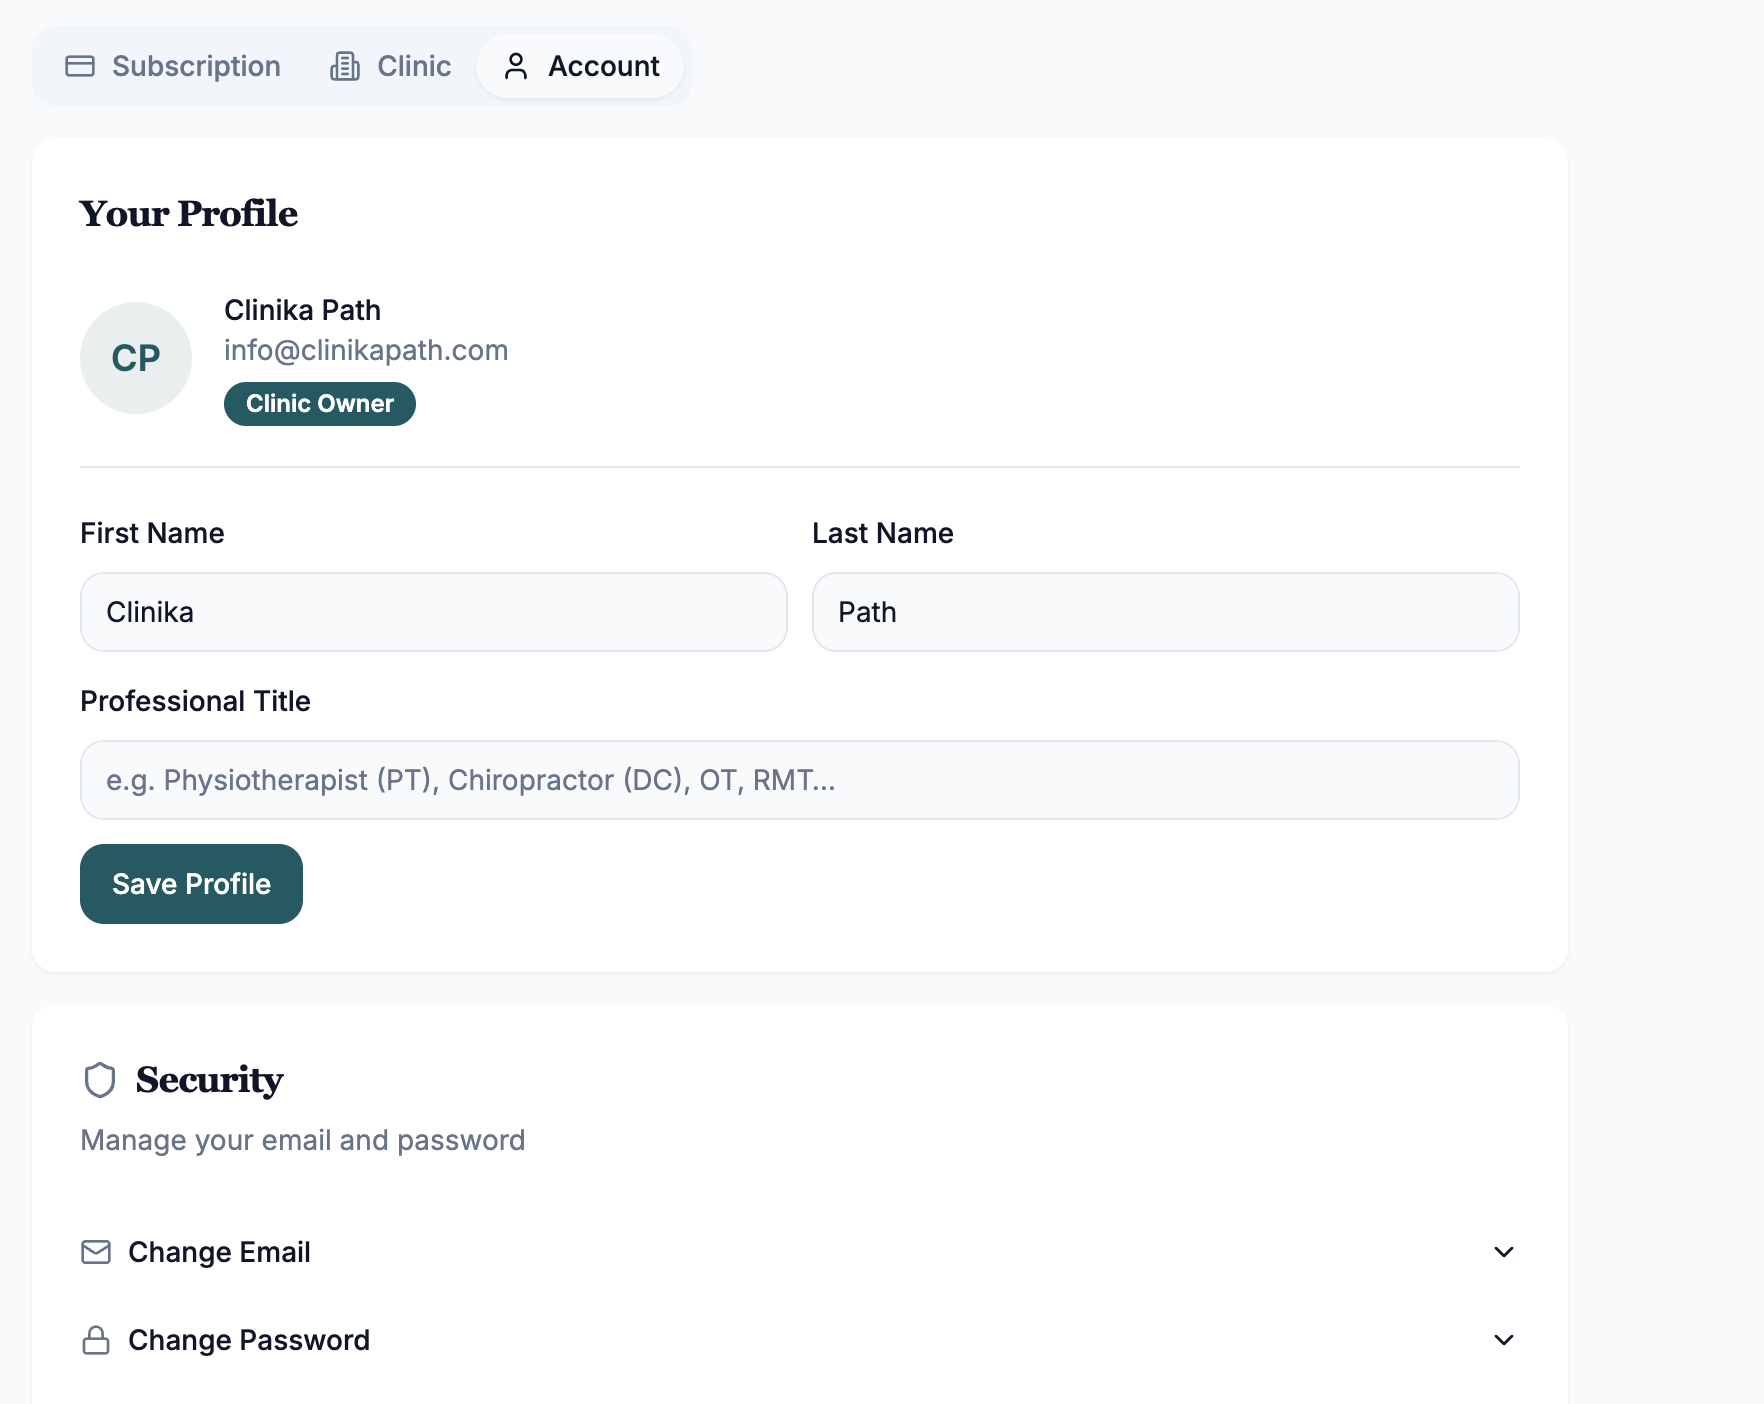
Click the Account tab to manage your individual professional presence and login security.
- Your profile: shows your name, login email, and role badge, plus editable First Name and Last Name fields.
- Professional title: enter your designation (e.g. Physiotherapist (PT), Chiropractor (DC), OT, RMT) so your expertise is represented correctly on the care plans you generate.
- Save Profile: locks in your name and title changes.
- Security: expand Change Email or Change Password to update your login credentials.
Quick tips for clinic owners
- Branding matters: taking 30 seconds to upload your clinic logo significantly increases the professional look of the care plan links you share.
- Team roles: the person who started the account is labeled as the Clinic Owner. Only owners can manage the subscription and invite new team members.
- Free admin seats: receptionists and front-desk staff should be added as admins, not clinician seats — they get read-only access at no extra cost.