
Understanding Care Plan Sections
How sections work
A care plan is assembled from stackable section blocks. Each block shows the patient-facing preview on top, with a collapsible EDIT · SECTION NAME panel underneath where you change the content.
- Hover between two blocks to reveal + add section and insert a new one at that exact position.
- Use the up / down arrows inside a block to move it, and the trash icon to remove it.
- Nothing is committed until you press Create template (or Update) — watch for the Unsaved changes badge in the header.
1. The outline: your whole plan at a glance
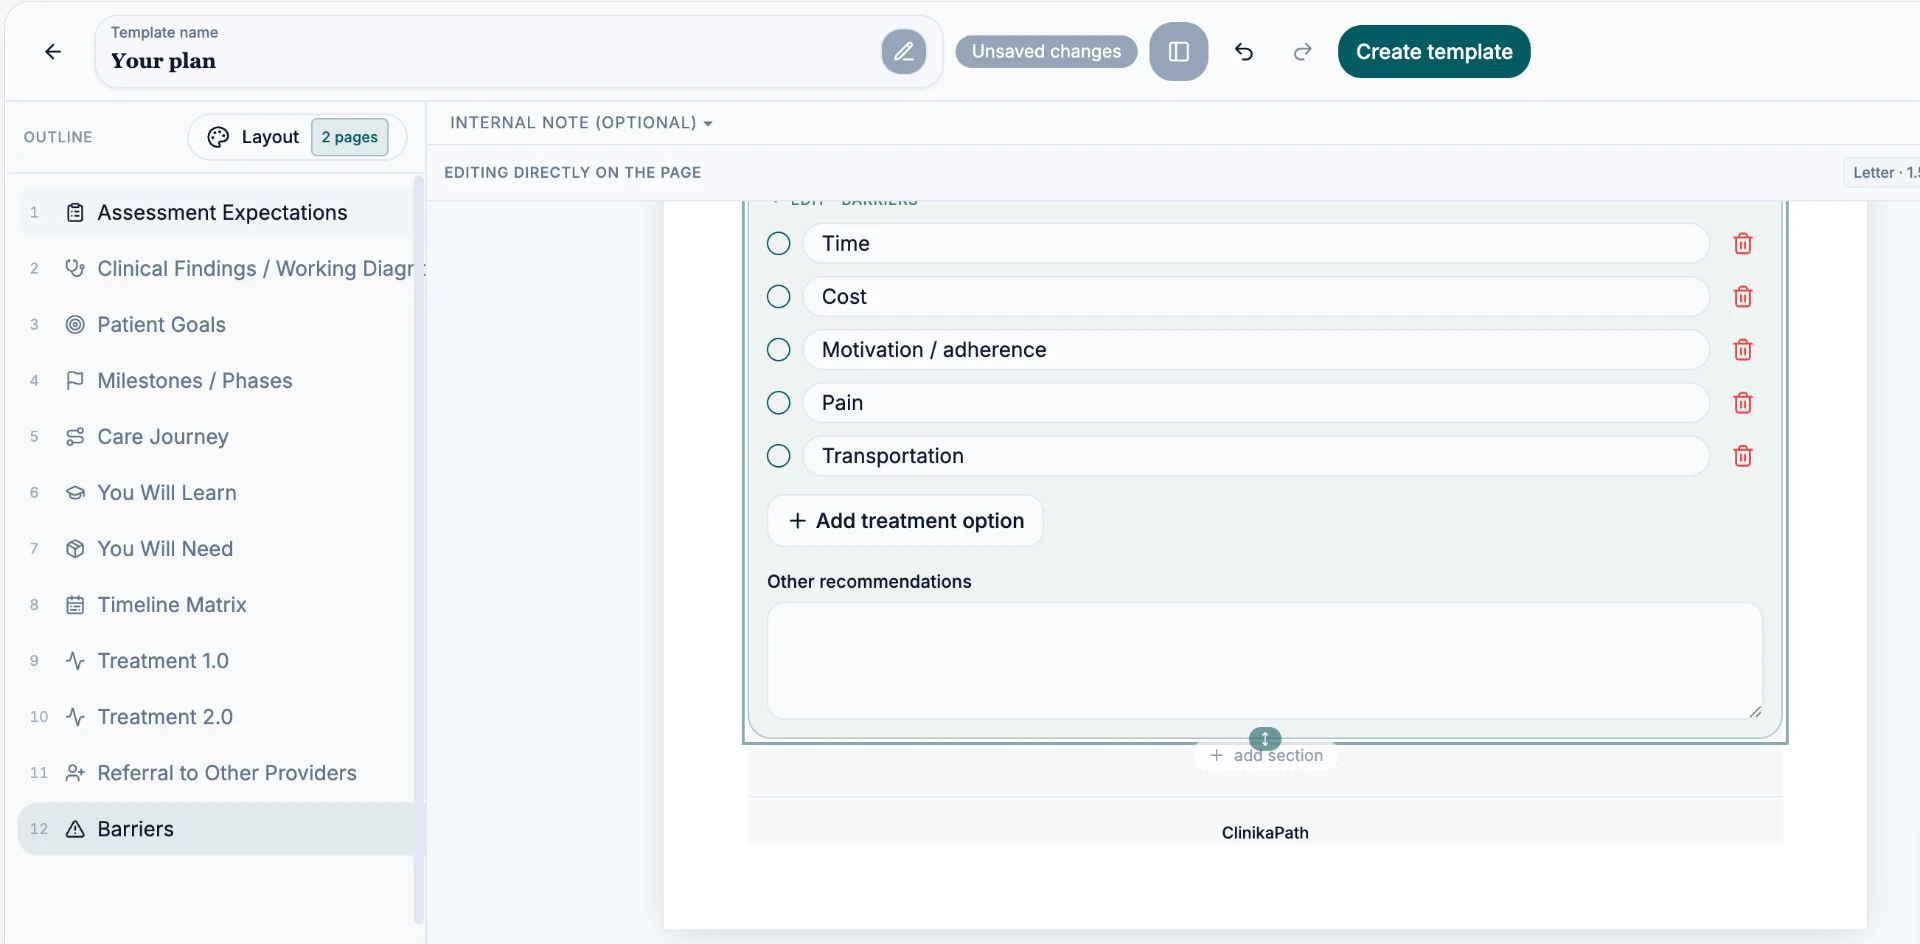
The numbered Outline panel on the left lists every section in the order your patient will read them — in this example all twelve, from Assessment Expectations through to Barriers.
- Click any entry to jump straight to that block on the page.
- The Layout button controls page size and margins (e.g. Letter · 1.5 cm) and shows the live page count.
- Internal note (optional) at the top is for your team only — it never appears on the patient's copy.
2. Adding sections: the picker
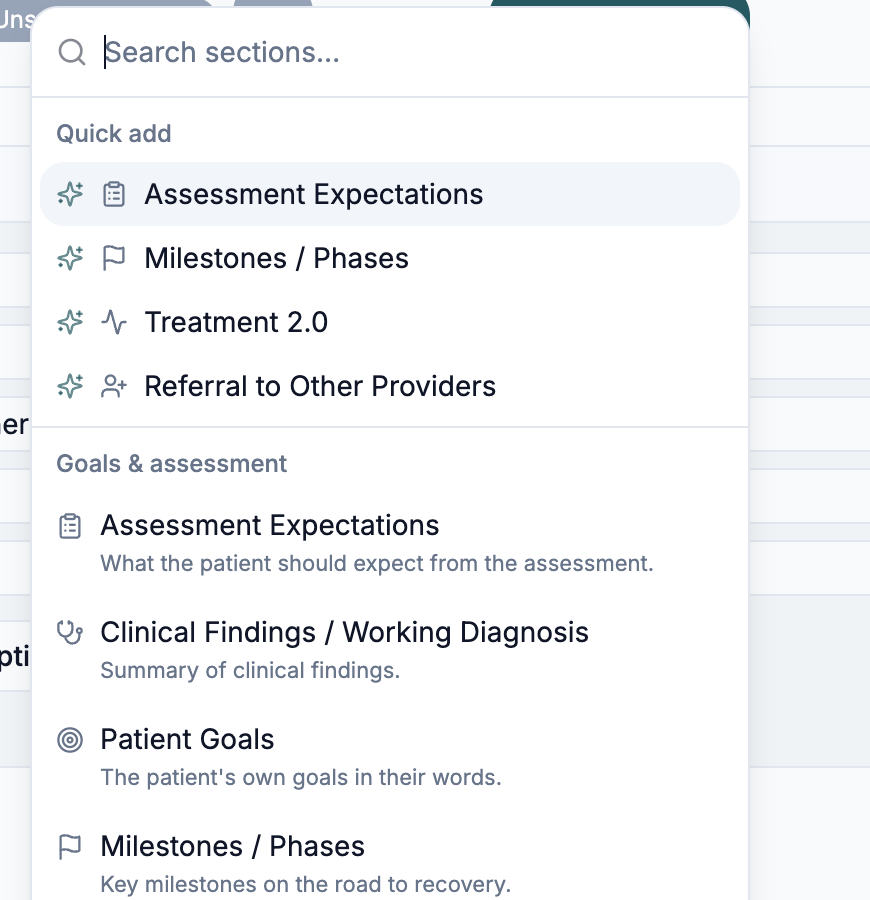
+ add section opens a searchable picker grouped into categories:
- Quick add — the four most-used blocks (Assessment Expectations, Milestones / Phases, Treatment 2.0, Referral to Other Providers).
- Goals & assessment — the clinical narrative blocks: Assessment Expectations, Clinical Findings / Working Diagnosis, Patient Goals, Milestones / Phases.
- Patient education — You Will Learn(education topics covered during care) and You Will Need(items the patient should have on hand).
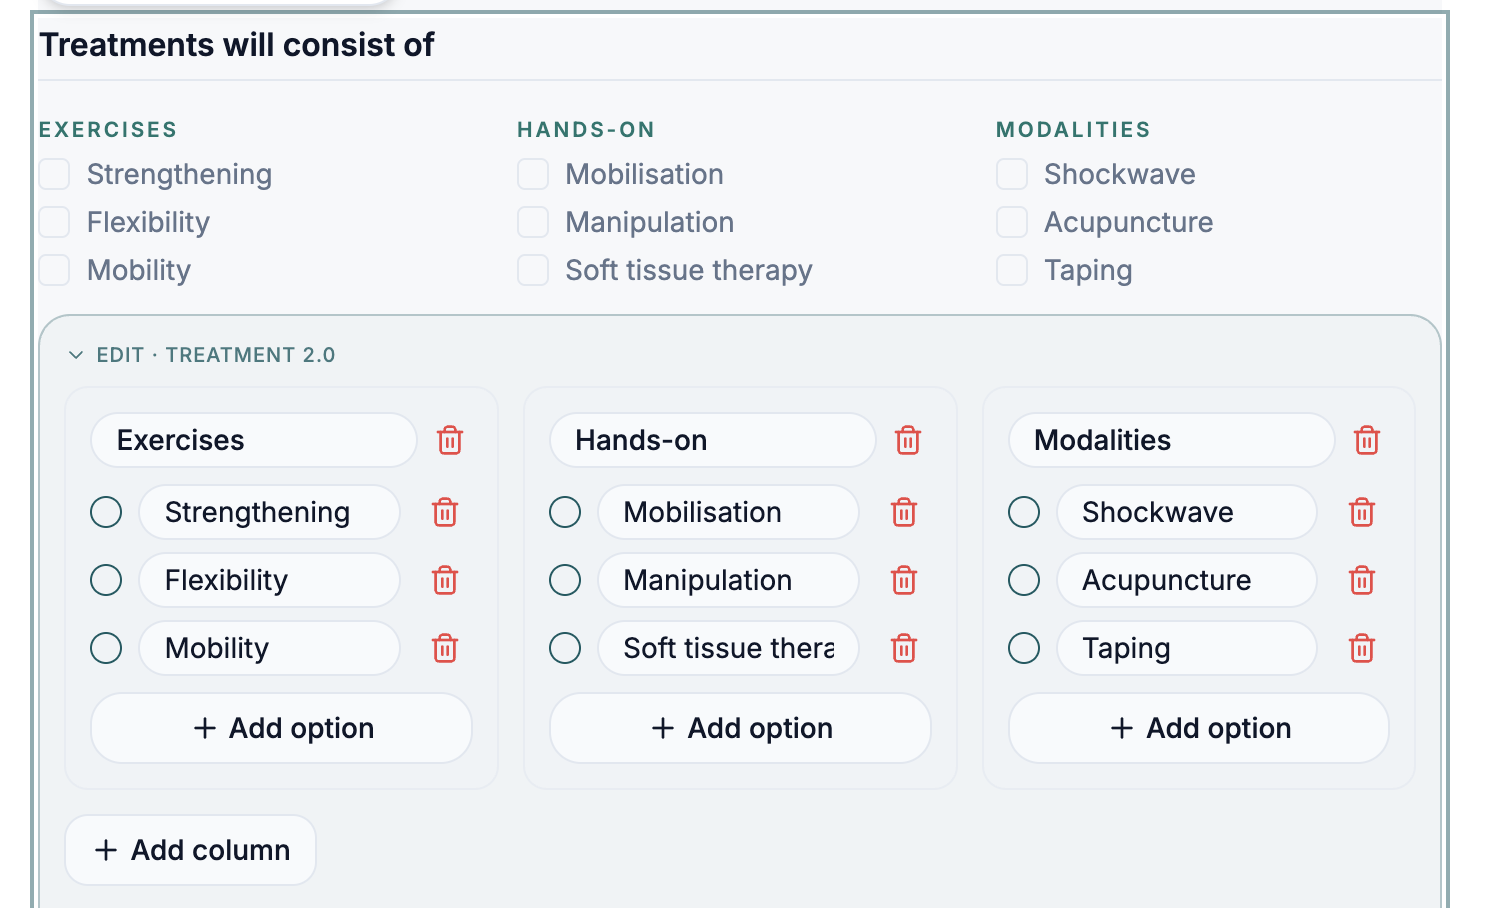
- Treatment & logistics — Timeline Matrix (visit cadence over time), Treatment 1.0 (single-column checklist of treatment approaches), Treatment 2.0 (multi-column checklist grouped by category, e.g. Exercises) and Referral to Other Providers.
- Other & custom — Barriers plus fully custom blocks: Custom Dropdown, Custom Title + Note (vertical or horizontal), Custom Checkboxes, Text Box Only and Title Only.
Start typing in Search sections… to filter the list instead of scrolling.
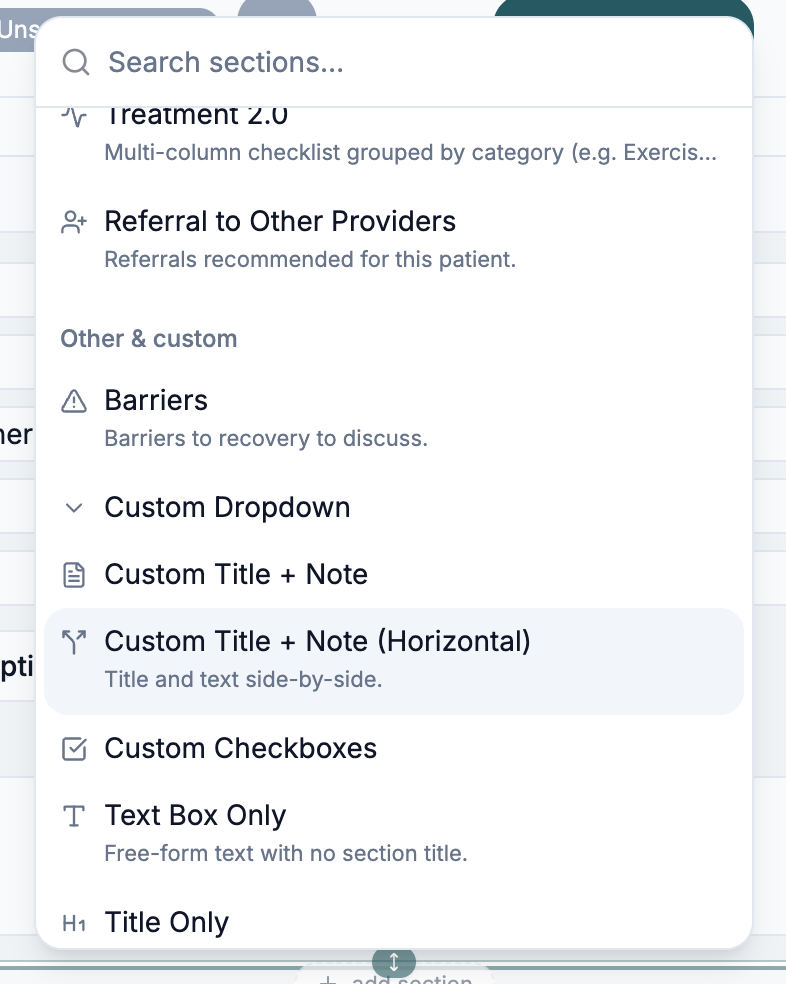
Custom blocks are your escape hatch
3. Rich-text sections
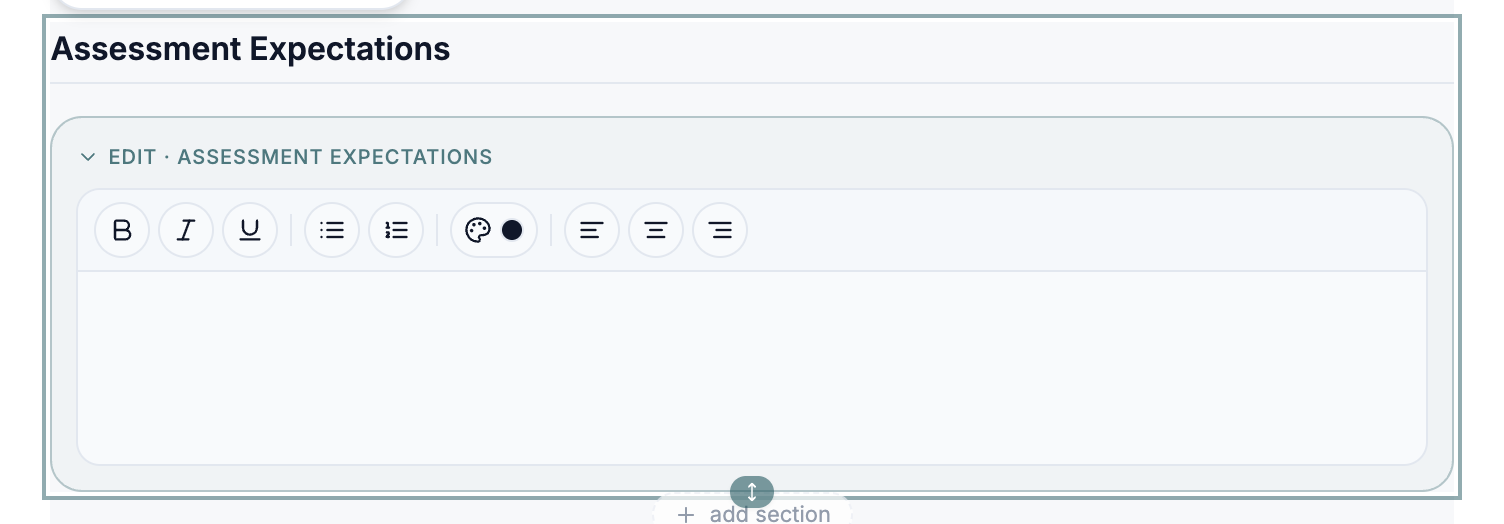
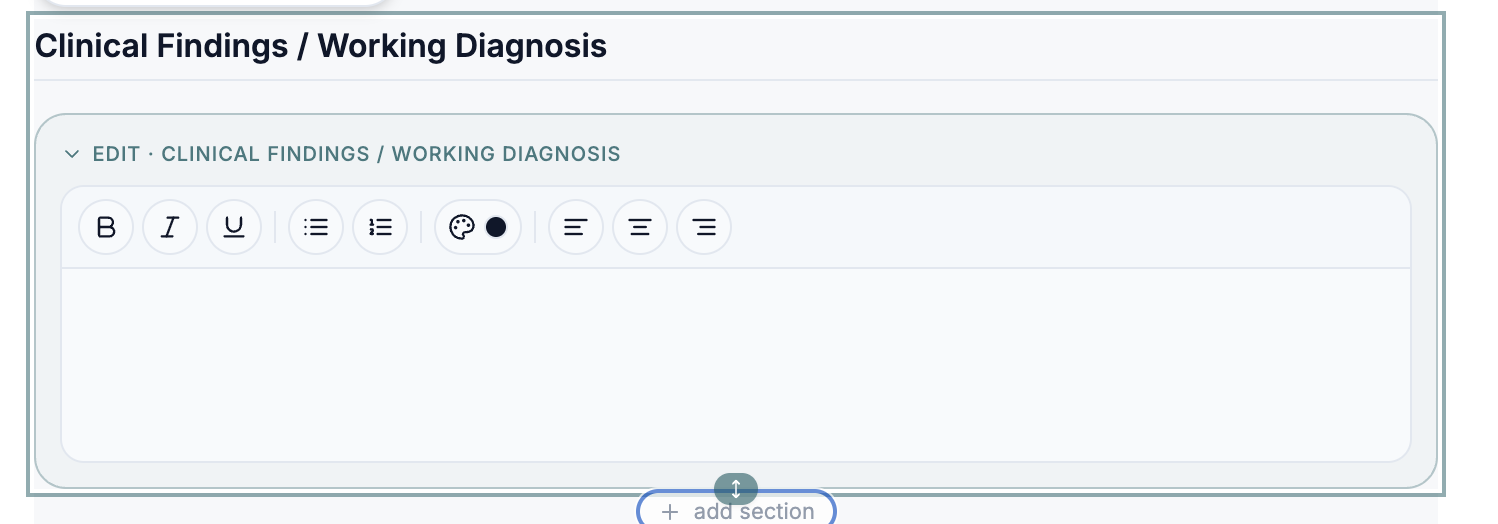
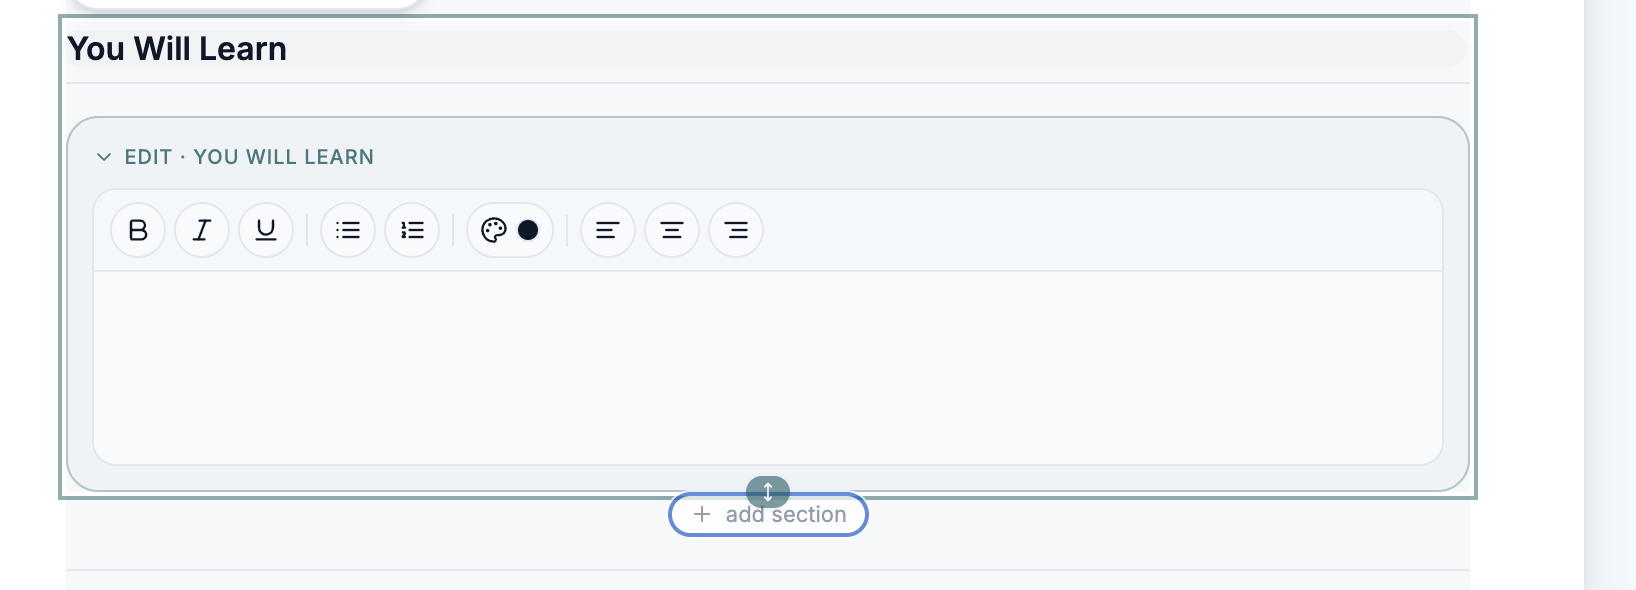
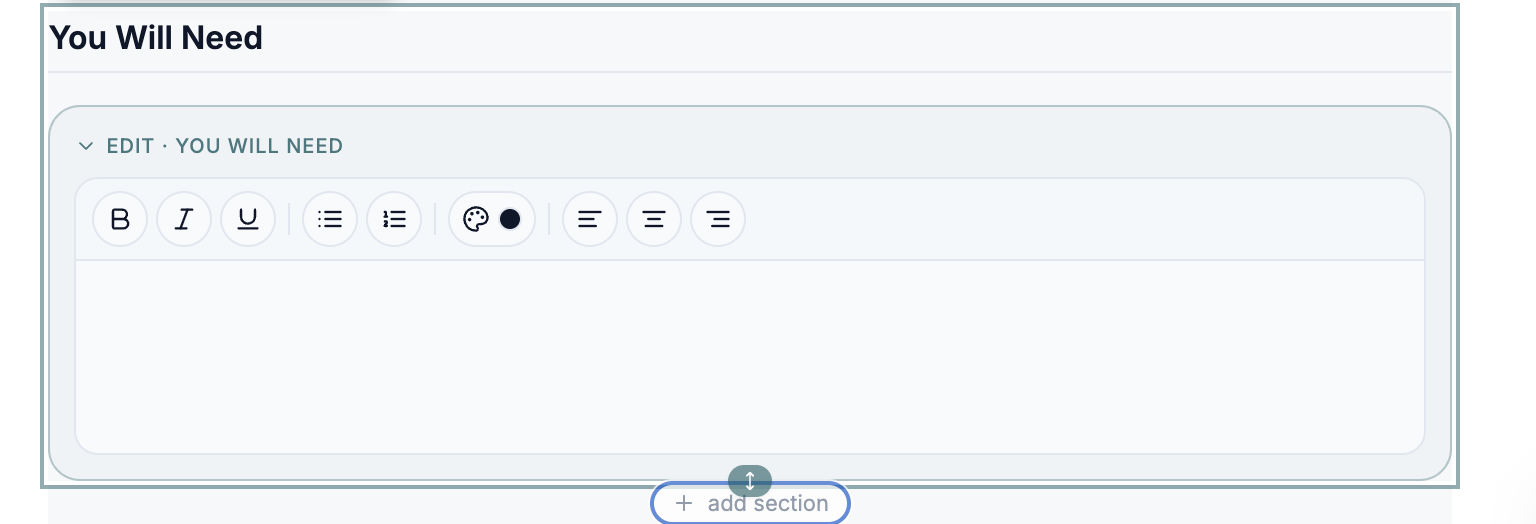
Four sections share the same simple rich-text editor: Assessment Expectations, Clinical Findings / Working Diagnosis, You Will Learn and You Will Need.
Every one of them gives you the same toolbar:
- Bold, italic and underline
- Bulleted and numbered lists
- Text colour
- Left, centre and right alignment
Because they only differ by heading, pick the one whose title matches the message you want to give the patient.
The four rich-text blocks
- Assessment Expectations — what will happen during the assessment so the patient arrives prepared.
- Clinical Findings / Working Diagnosis — your summary of what you found, in plain language.
- You Will Learn — the education takeaways of the plan.
- You Will Need — equipment, home-exercise habits or lifestyle commitments required to succeed.
4. Patient Goals
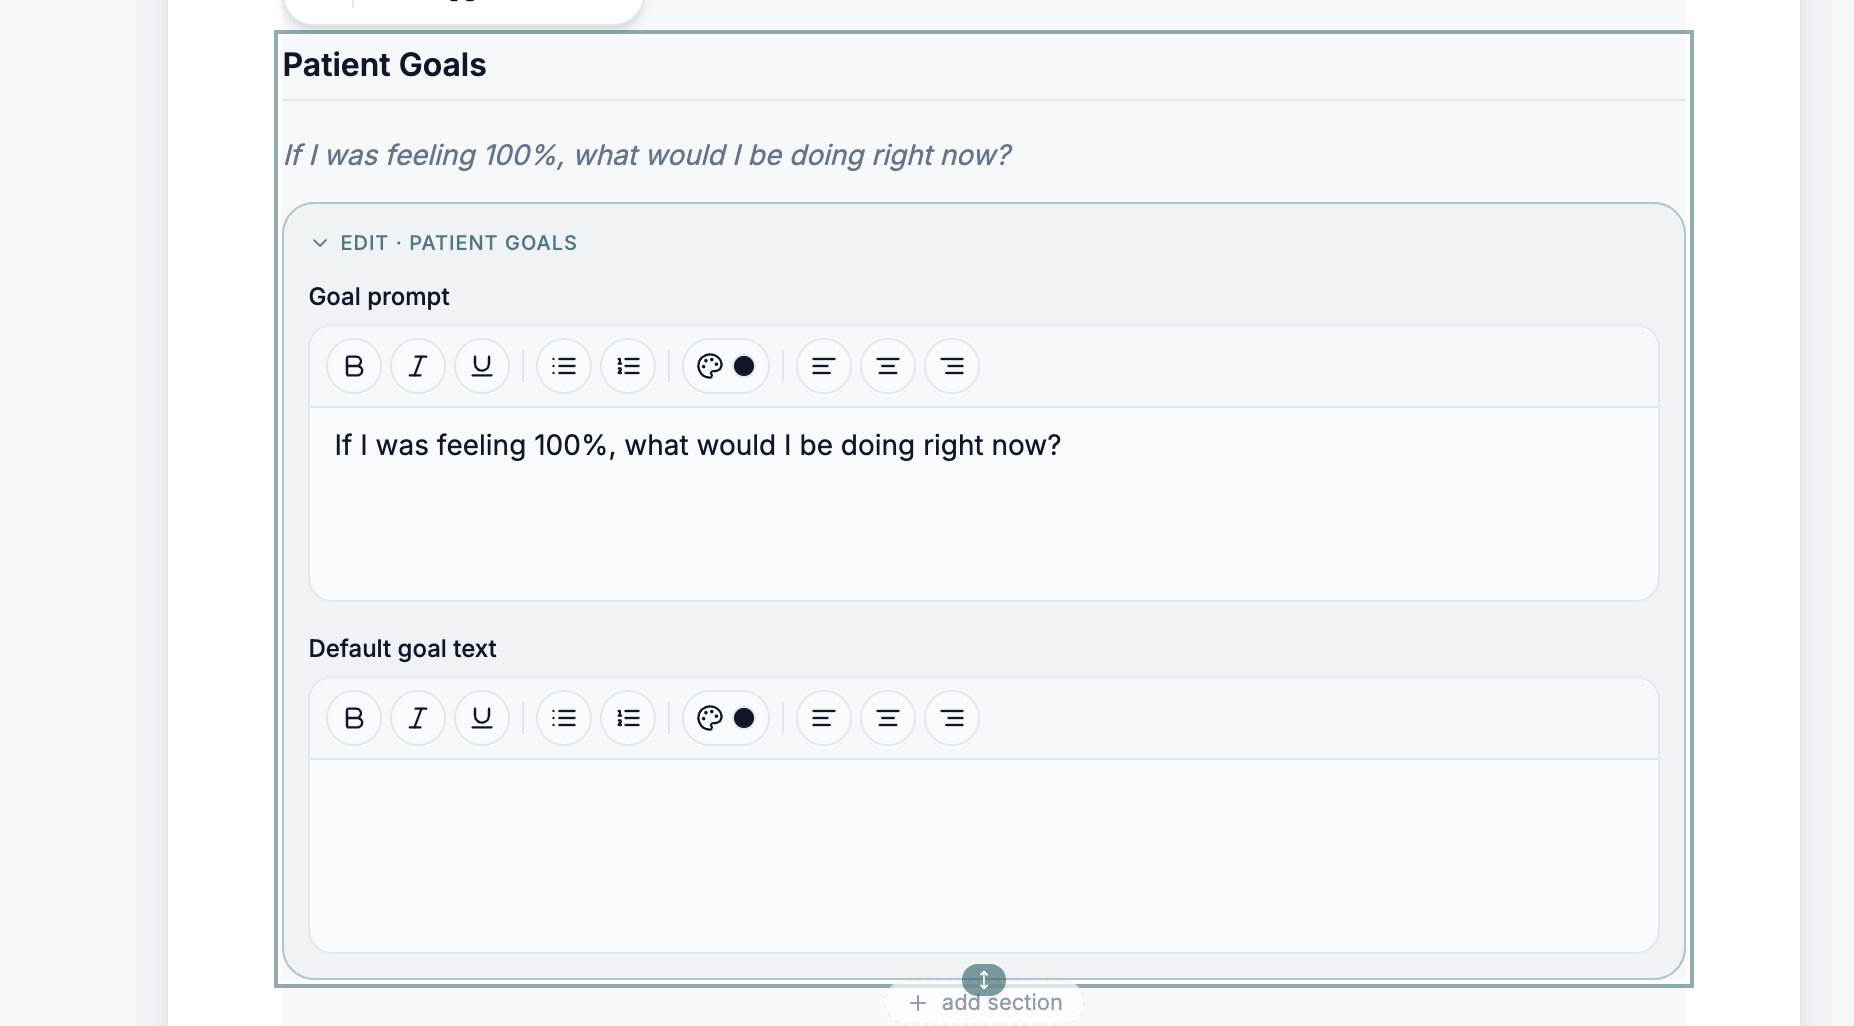
Patient Goals is a two-field variant of the rich-text family, so the question and the answer stay separate:
- Goal prompt — the question shown in italics above the answer, e.g. “If I was feeling 100%, what would I be doing right now?”. Reword it to suit your clinic.
- Default goal text — optional starter text that pre-fills every plan built from this template. Leave it blank to make the clinician write it fresh each time.
5. Milestones / Phases
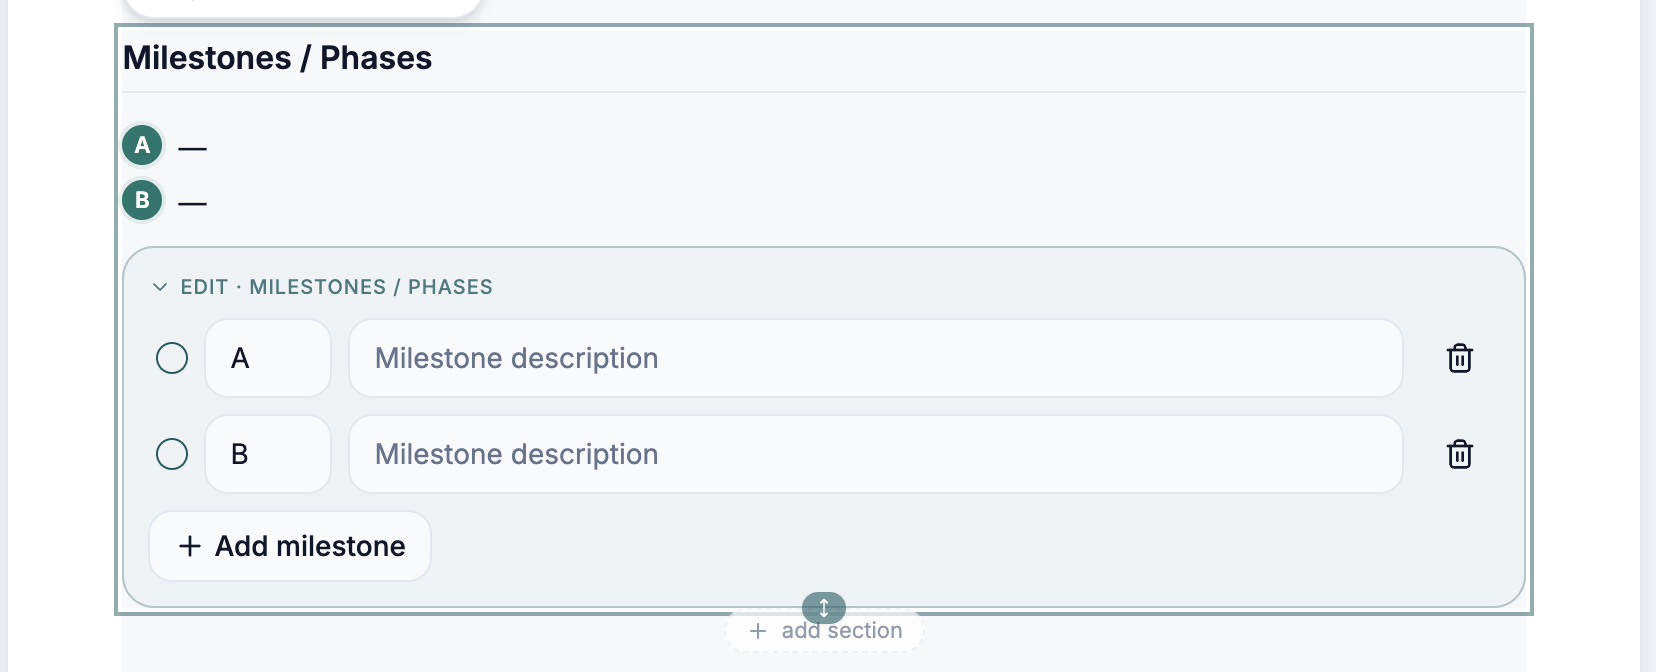
Milestones give the patient lettered checkpoints (A, B, C…) on the road to recovery.
- Each row has a short letter badge and a description field.
- The circle on the left marks the milestone as reached — useful when you review the plan with the patient.
- + Add milestone appends a new row; the trash icon removes one.
Milestones answer “what comes next?”, while the Care Journey below answers “when?”.
6. Care Journey: three ways to show the same phases
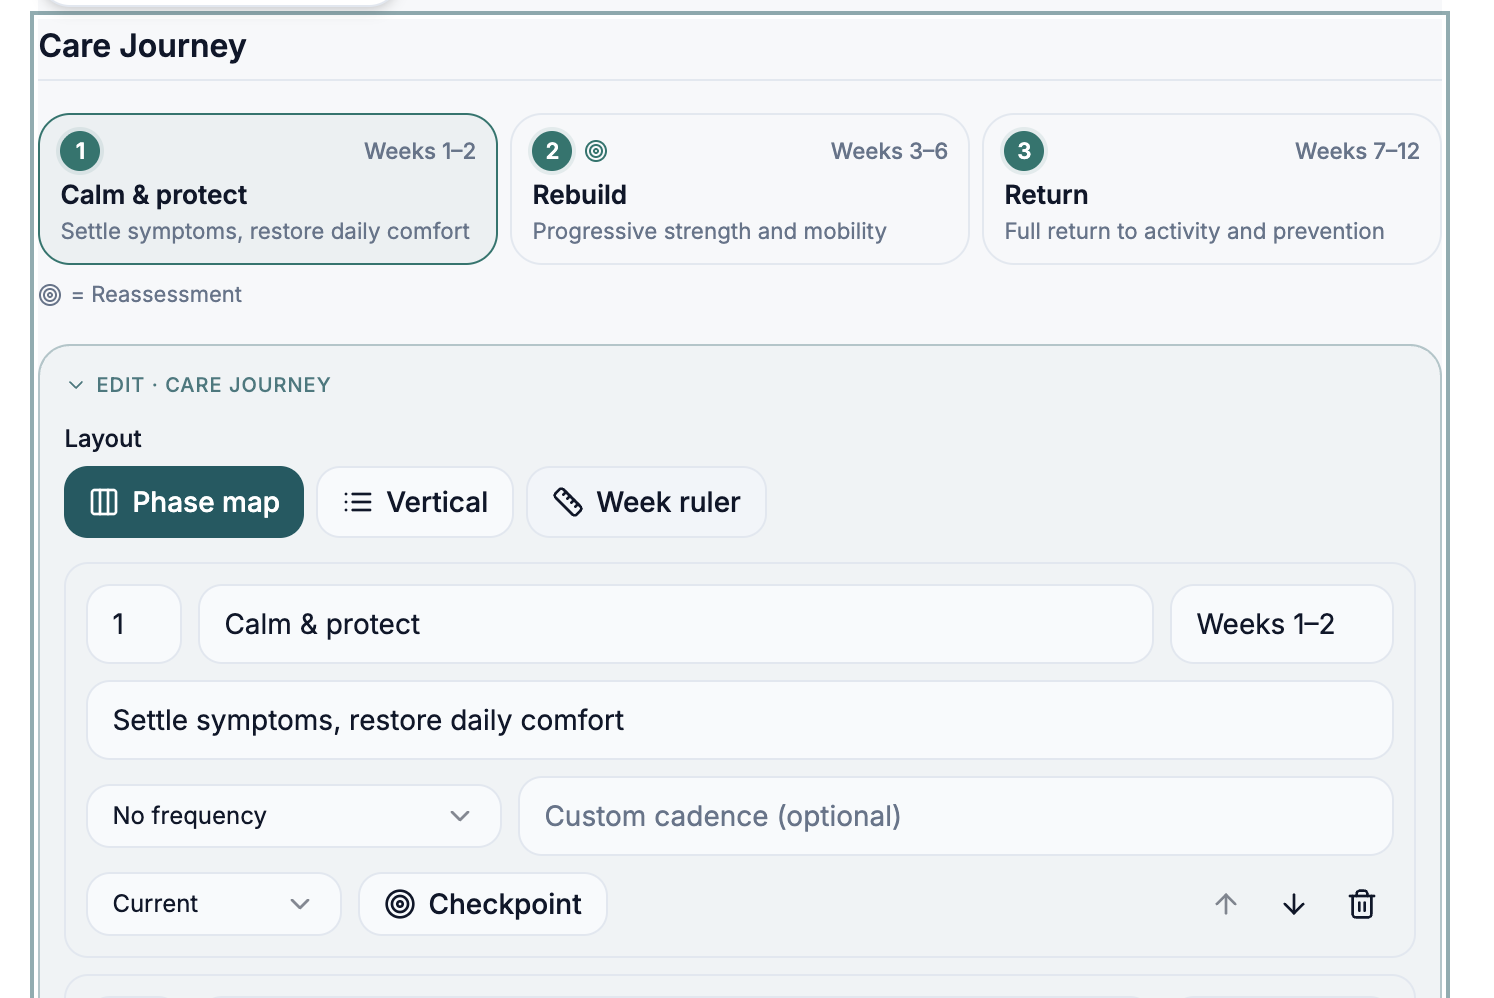
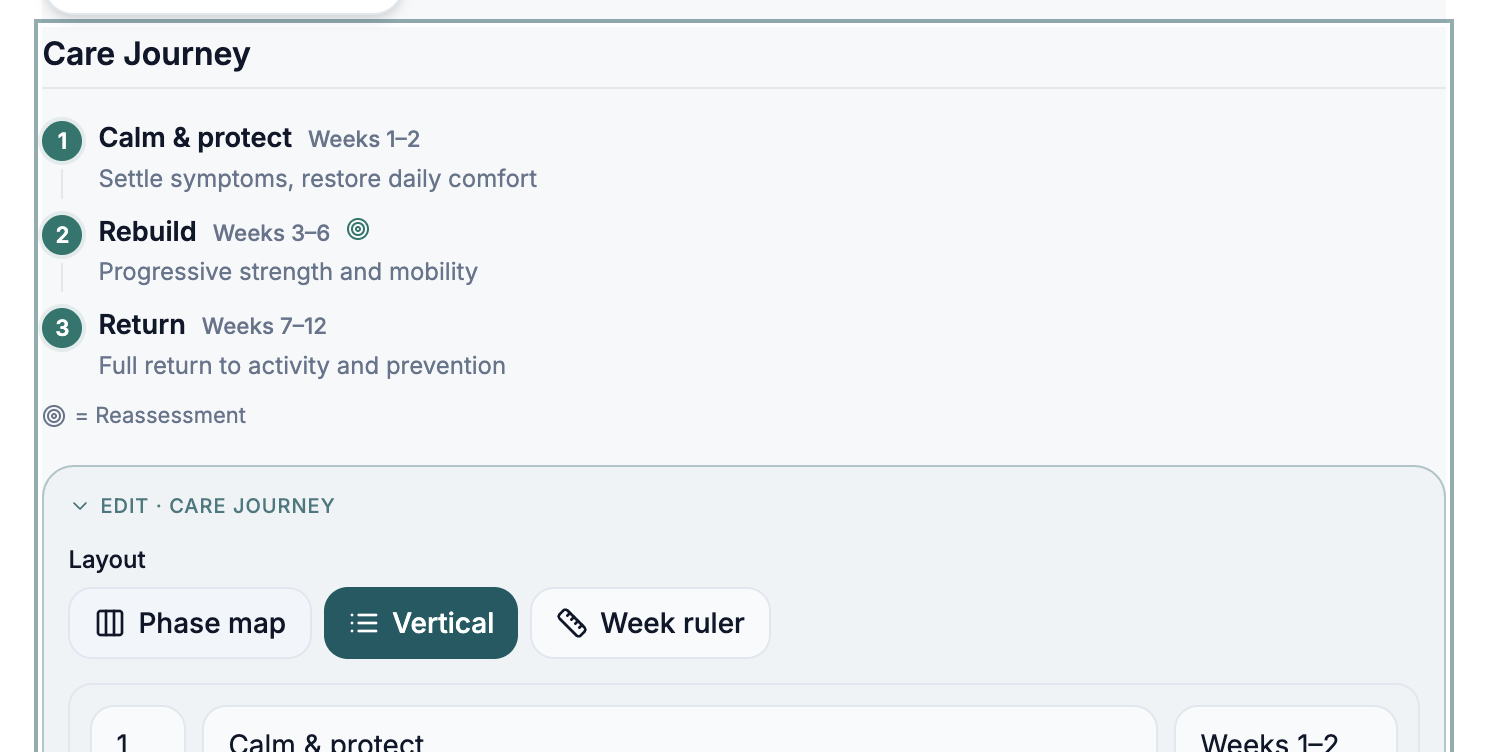
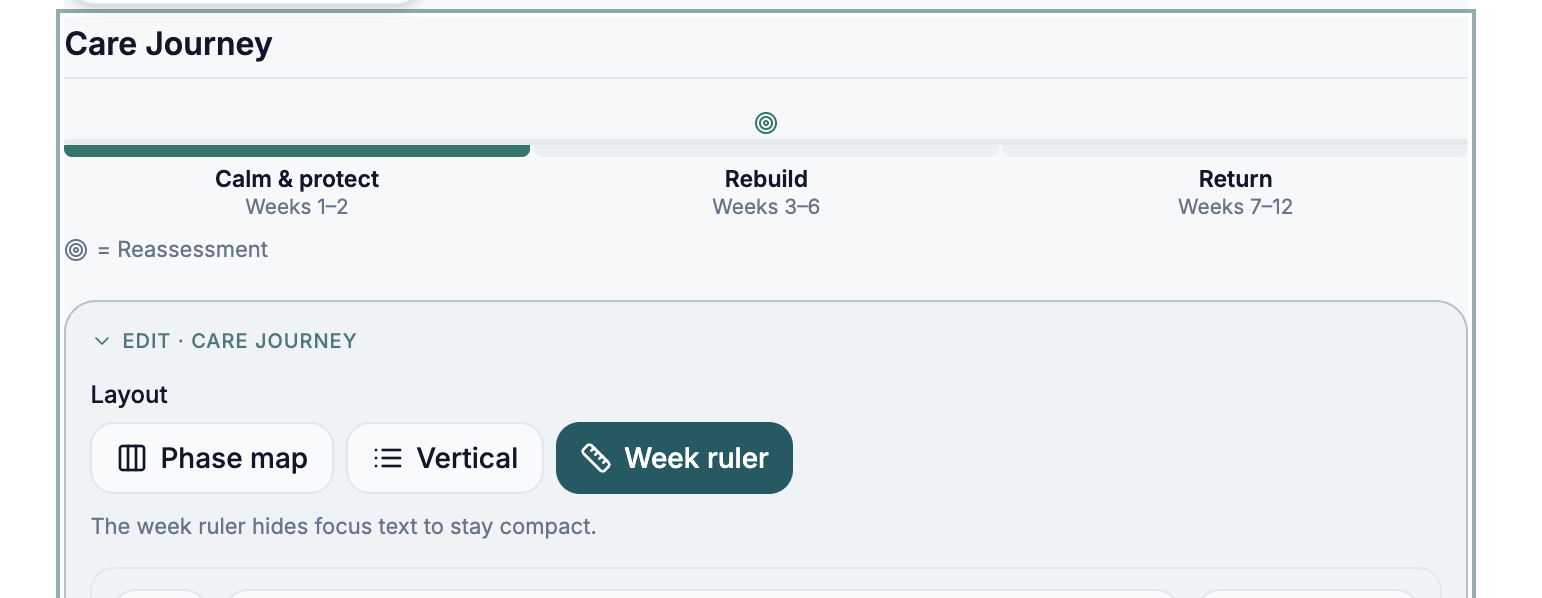
The Care Journey block turns your plan into numbered phases with week ranges. One Layout switch changes how it is presented — the content stays the same.
- Phase map — side-by-side cards, best for a plan with two or three clear stages.
- Vertical — a compact numbered list, best when the plan sits alongside other sections.
- Week ruler — a progress bar across the whole timeline; it hides the focus text to stay compact.
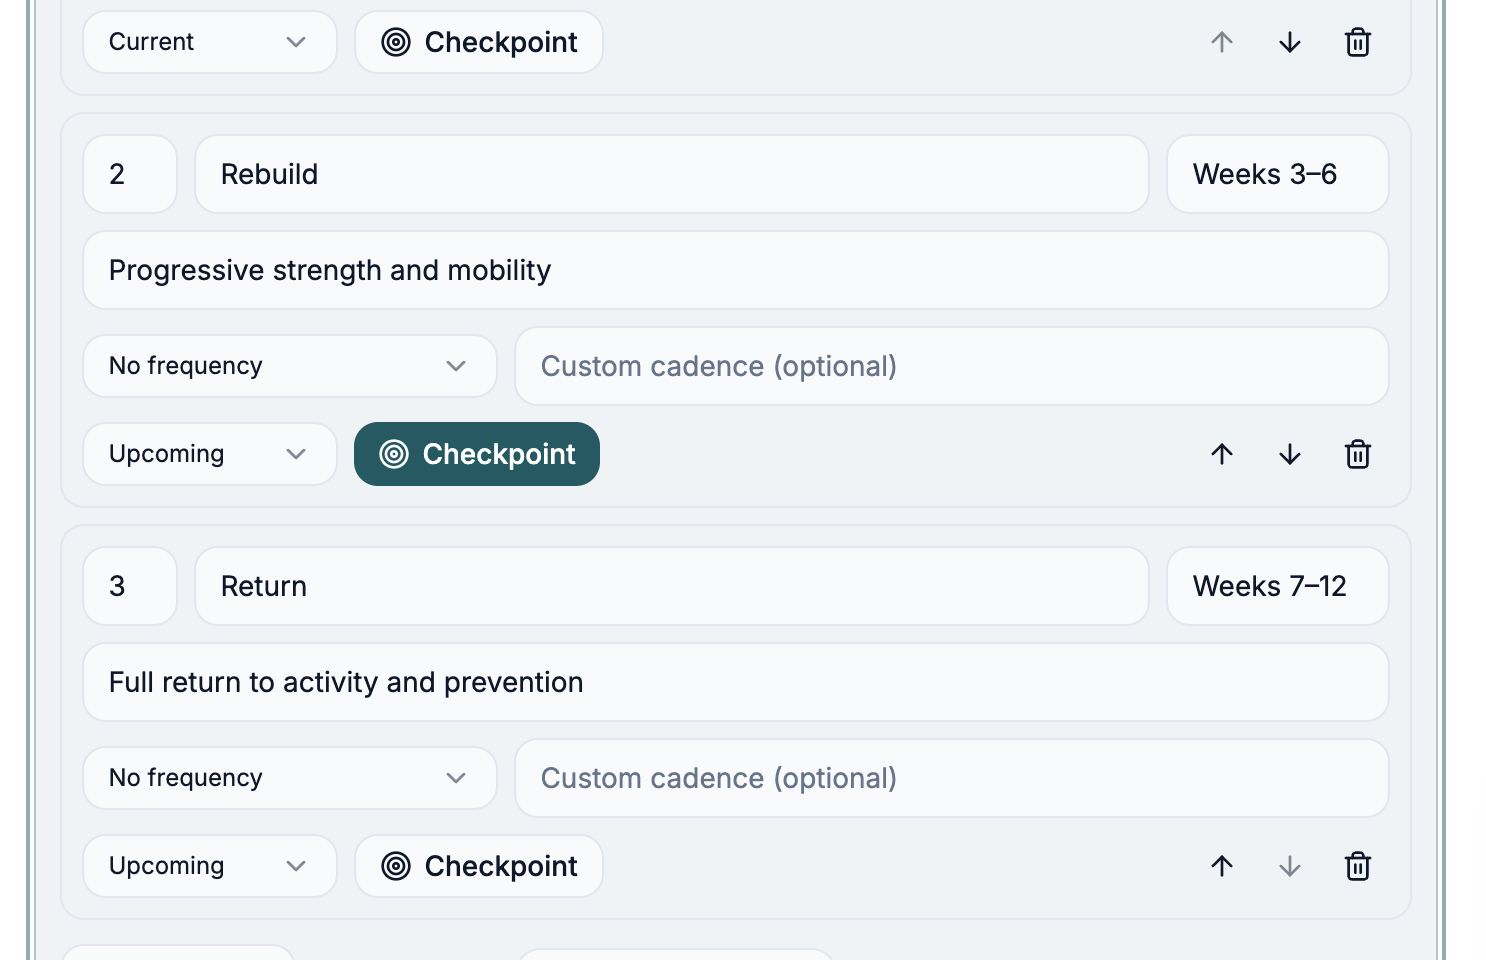
Editing a Care Journey phase
Each phase row in the edit panel carries:
- Number, name (e.g. “Calm & protect”) and week range (“Weeks 1–2”).
- Focus text — one line describing the goal of the phase.
- Frequency plus an optional custom cadence for anything the dropdown can't express.
- Status — Current or Upcoming, which highlights where the patient is today.
- Checkpoint — toggles the reassessment target icon on that phase.
- Arrows reorder the phase; the trash icon deletes it.
7. Timeline Matrix
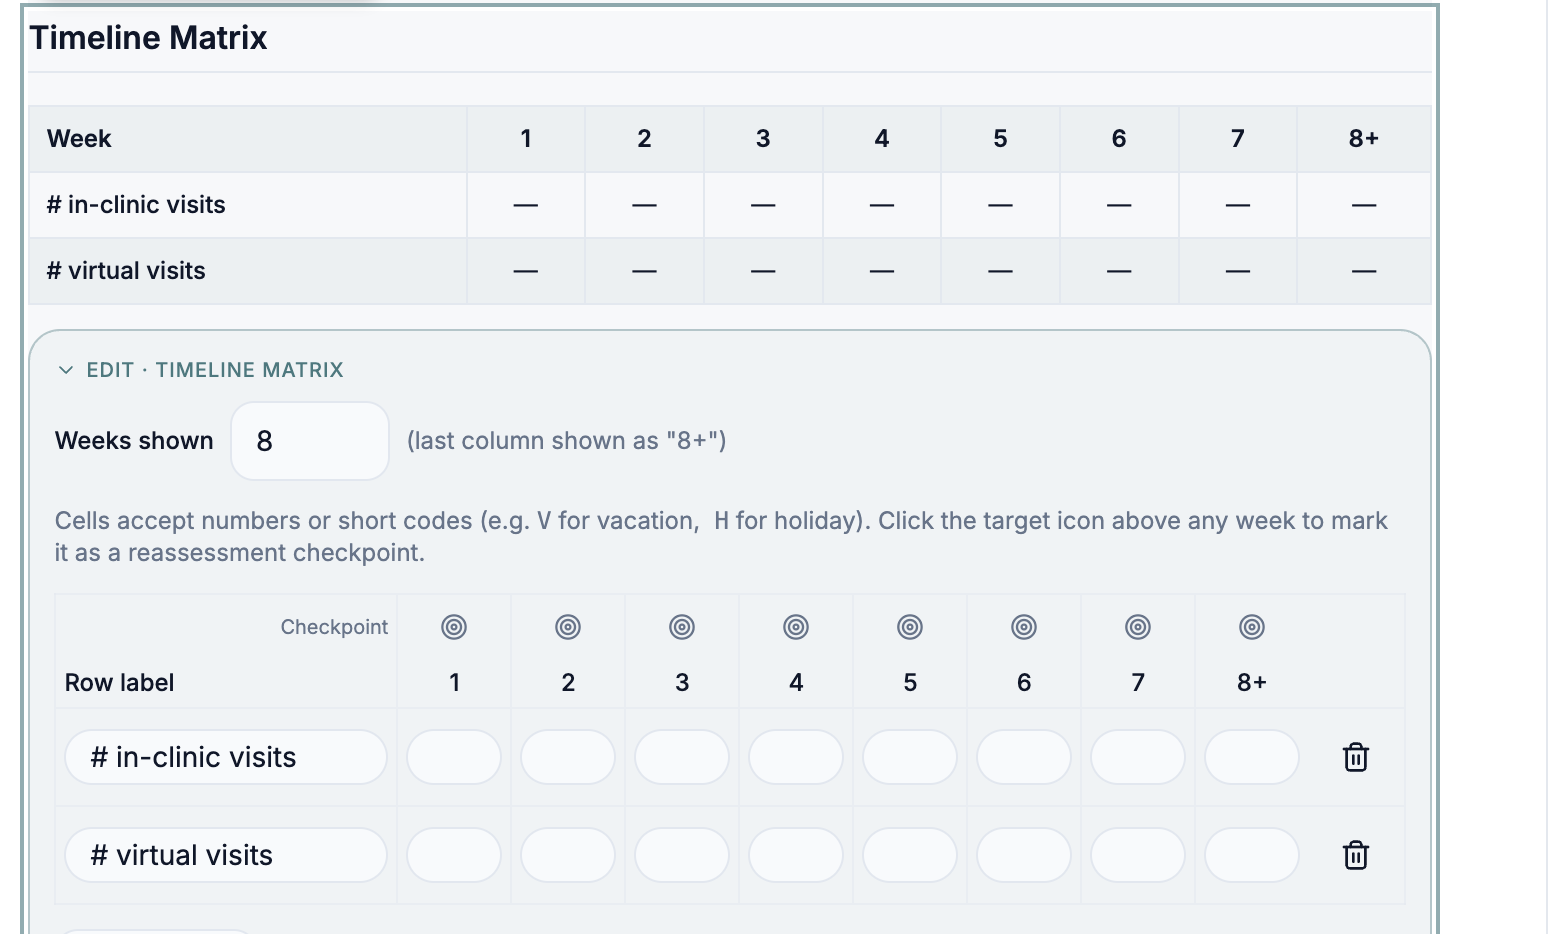
The Timeline Matrix is a week-by-week grid of visits — the practical companion to the Care Journey.
- Weeks shown sets how many columns appear; the last one is displayed as “8+”.
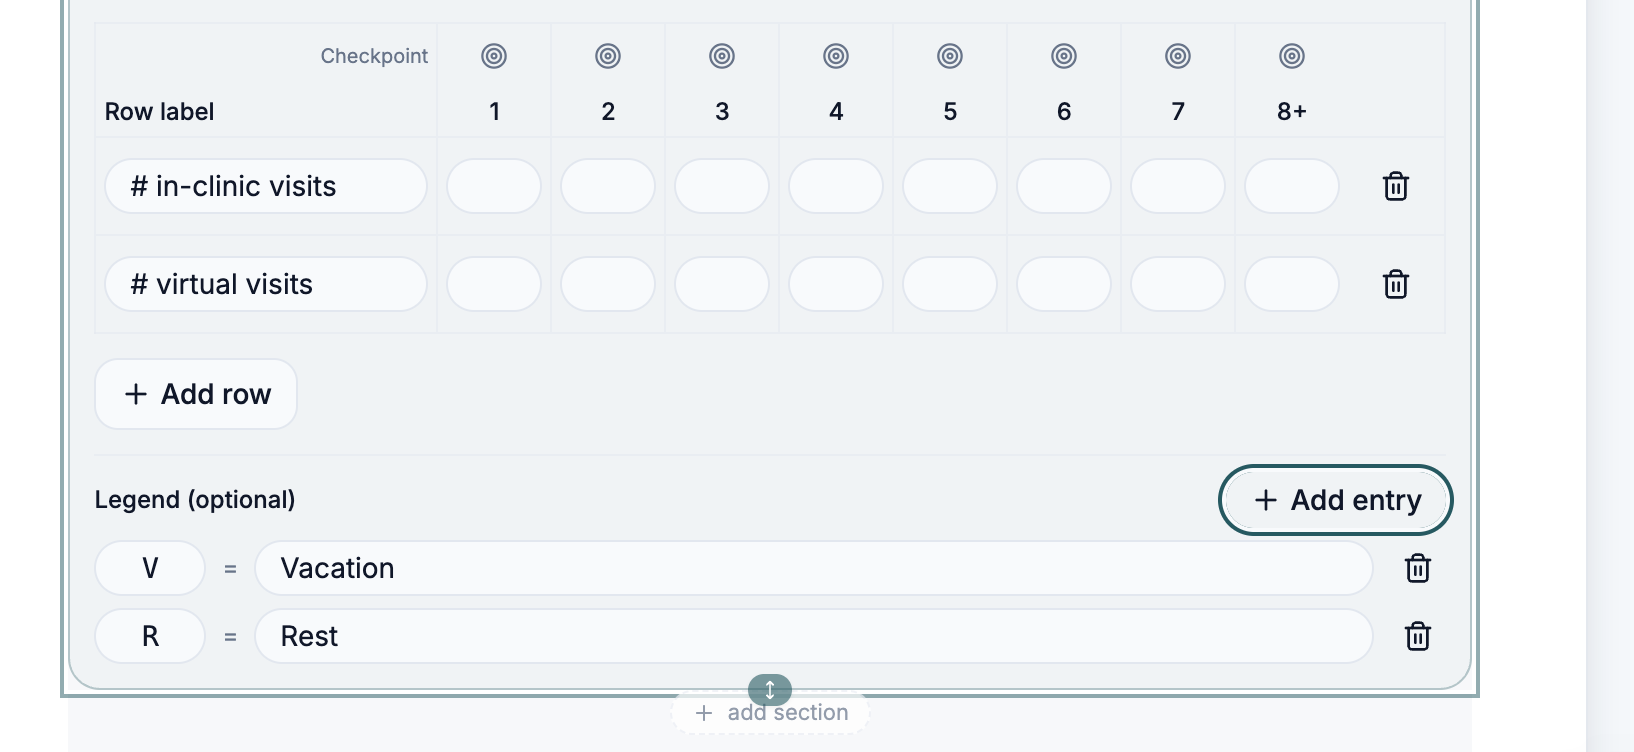
- Rows default to # in-clinic visits and # virtual visits; rename them or use + Add row for anything else you track.
- Cells accept numbers or short codes (e.g. V for vacation).
- Click the target icon above a week to mark it as a reassessment checkpoint.
- Legend (optional) — add code = meaning entries so the patient understands your codes.
8. Checklist sections
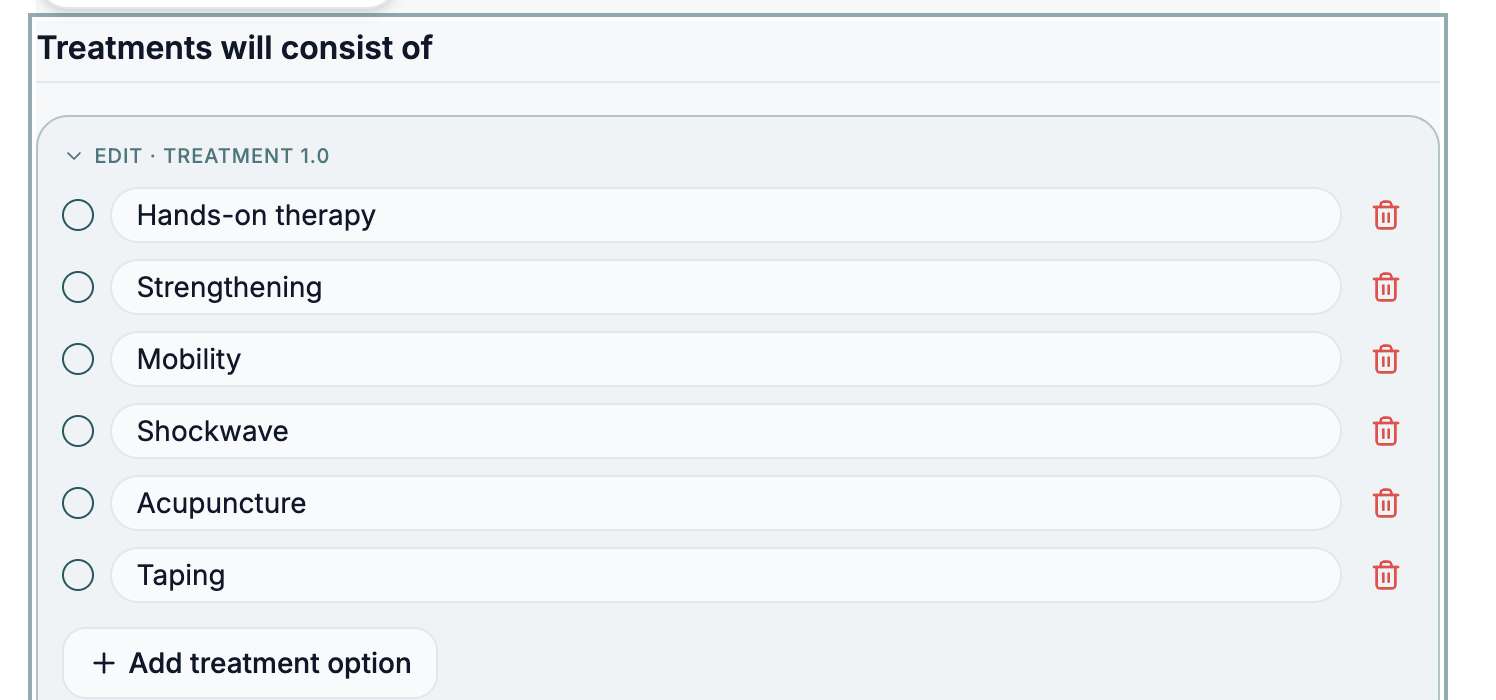
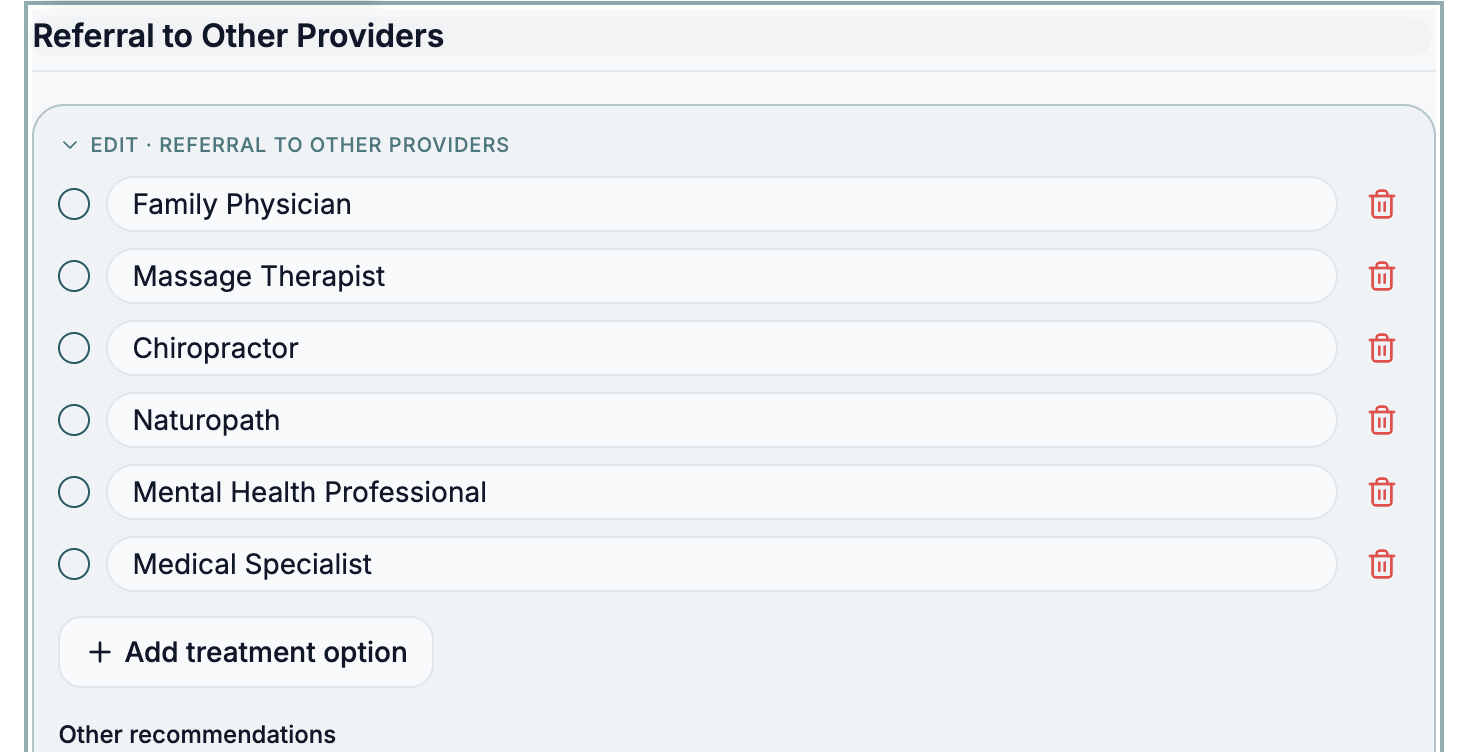
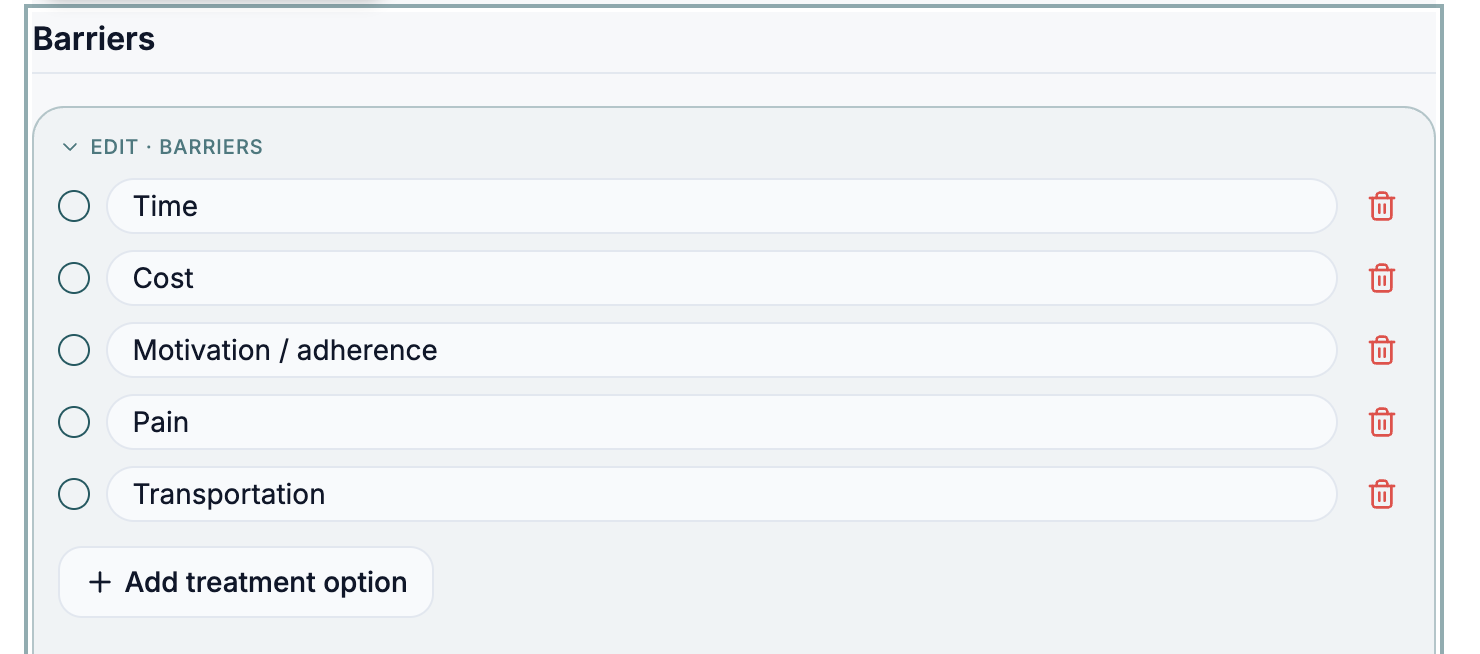
Four sections share the same checklist mechanics: a list of tickable options you can rename, delete with the red trash icon, and extend with + Add treatment option. Ticking an option includes it in that patient's plan.
- Treatment 1.0 — one flat list (“Treatments will consist of”). Simple and quick.
- Treatment 2.0 — the same list split into named columns such as Exercises, Hands-on and Modalities. Rename any column heading, add options per column, or use + Add column for a new category.
- Referral to Other Providers — family physician, massage therapist, chiropractor and so on, with an Other recommendations free-text box underneath.
- Barriers — time, cost, motivation, pain, transportation: the obstacles to discuss openly with the patient.
1.0 or 2.0?
Quick tips for clinic owners
- Build your section order once inside a template — every plan you assign then starts from the same structure.
- Group the narrative sections (Assessment Expectations, Clinical Findings, Patient Goals) at the top, then the timeline sections, then the checklists.
- Keep patient-facing wording plain: the document is read by your patient, not another clinician.
- Changes are only saved when you click Create template or Update — watch for the “Unsaved changes” badge.